Catalytic Converter Replacement

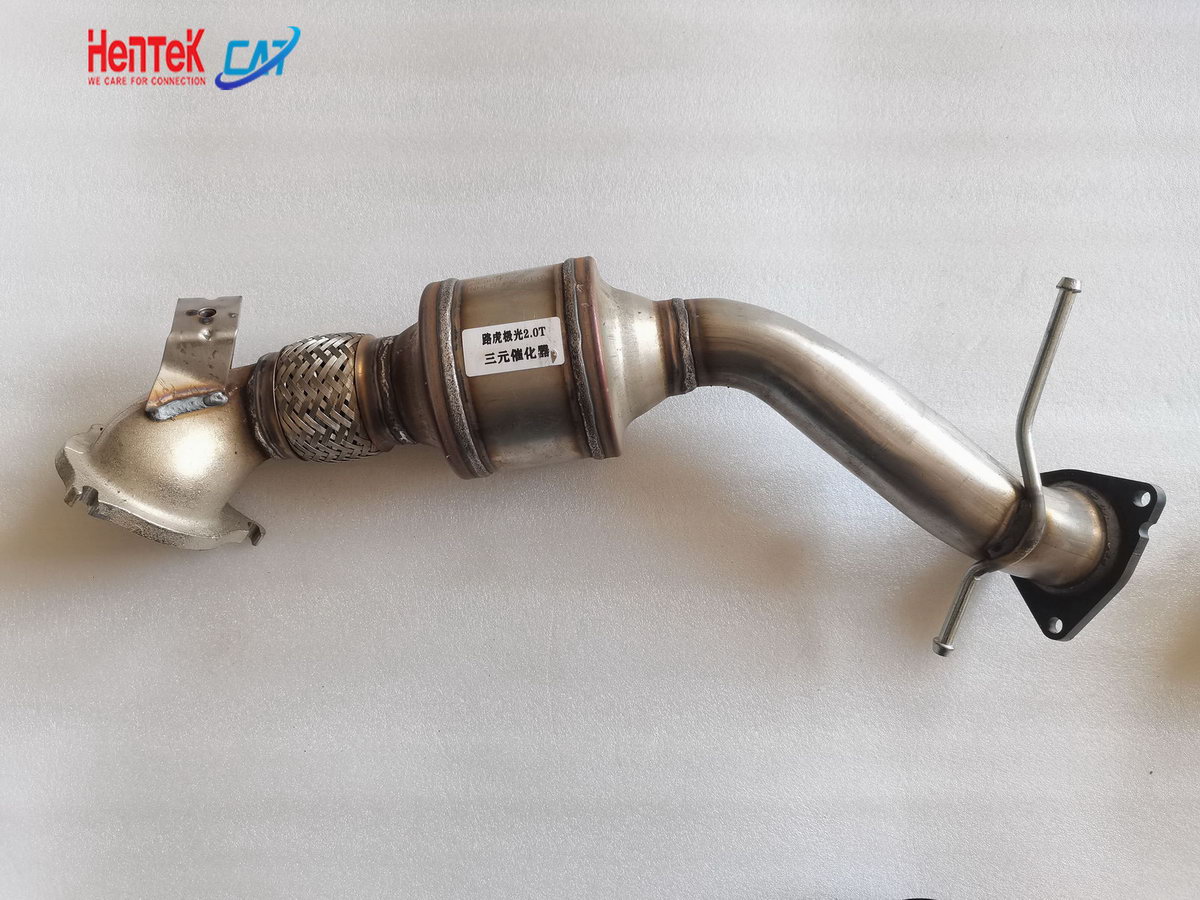
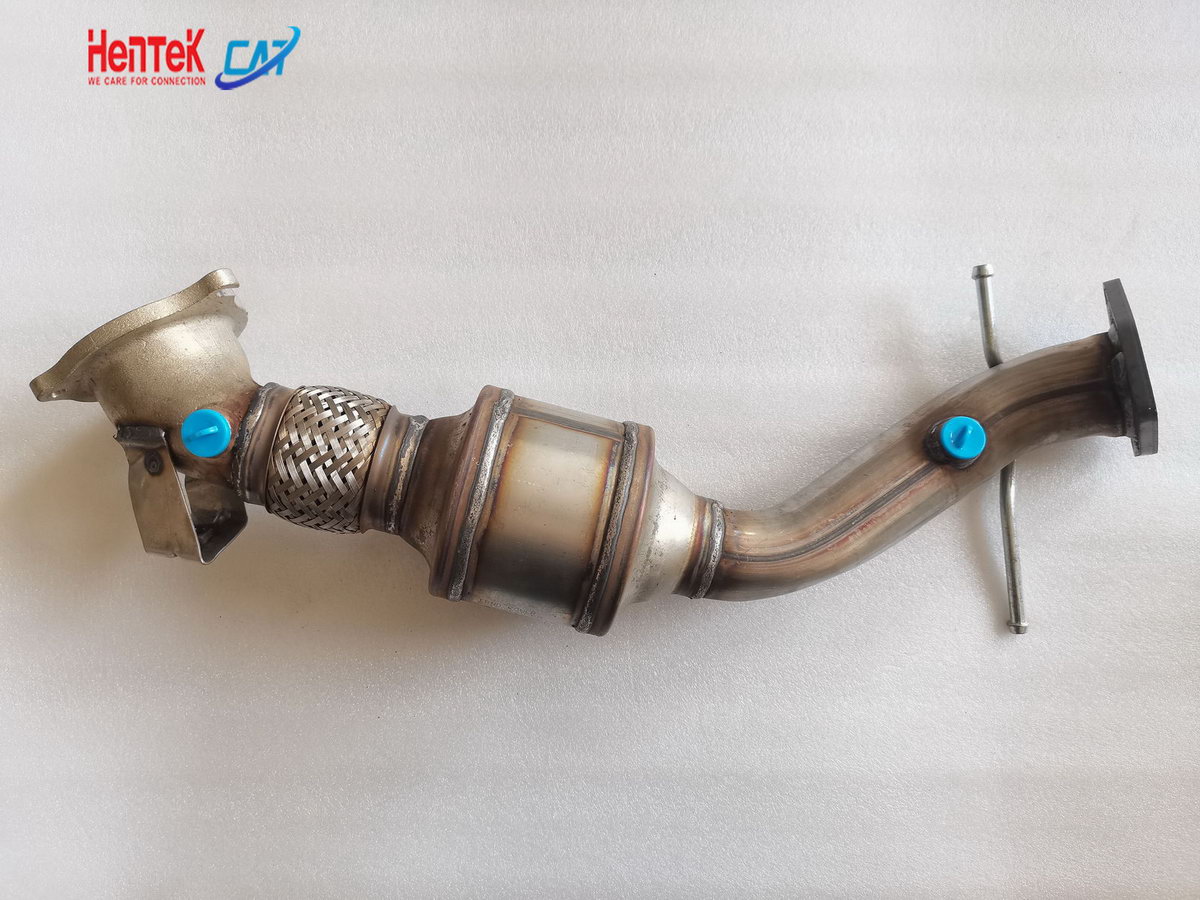
Land Rover Aftermarket Three-Way Catalytic Converter Replacement
A broken or missing catalytic converter impacts your vehicle’s performance. While you can drive a car without one, it affects your fuel emissions. It can also damage your engine. If you have a damaged or missing catalytic converter, you want to fix it pronto.
What is Catalytic Converter?
A catalytic converter is a metal device designed to reduce harmful emissions and gases like hydrocarbons, carbon monoxide and other air pollutants. The catalytic converter on a standard combustion engine vehicle converts toxic fumes into safe gases through a chemical reaction. Keep in mind, gas-electric hybrids, require a catalytic converter that is subject to emissions testing.

Land Rover

Land Rover
| Three-way catalytic converter assembly description | |
| brand | land rover |
| Displacement | 2.0L/3.0L/3.2L/4.4L/5.0L |
| structure | Tight Coupling + Chassis |
| standard | Euro IV/Euro V/Euro VI |
| carrier type | ceramics |
| Mesh | 400/600 mesh |
| light-off temperature | ≤270℃ |
| Conversion efficiency | ≥90% |
How Much Does A Catalytic Converter Cost?
We are a catalytic converter manufacturer from China. We provide you wholesale price. Just contact us for quote and send us your requirments.
Catalytic Converter Repair & Replacement
【Product Overview】
When the catalytic converter works correctly, you won’t notice its presence. When the cat starts to fail, it definitely makes itself known. The most common sign of a problem with your catalytic converter is the noxious smell of rotten eggs.

5 Year
Warranty

10Pints/Day
@AHAM

30 CFM
@0.0"
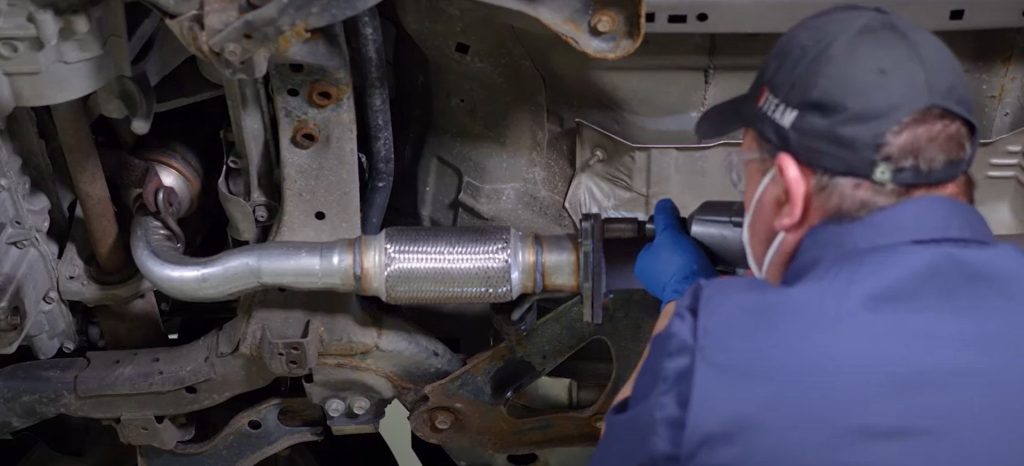
How to Replace a Catalytic Converter

Step 1: Raise the vehicle and secure it on jack stands. Make sure to raise the vehicle enough to give space for maneuvering underneath the vehicle.
Set the parking brake, and use stoppers or wood blocks under the tires to prevent the vehicle from rolling.
Step 2: Find the catalytic converter. Identify the catalytic converter on the underside of the vehicle.
It is typically located towards the front half of the vehicle, usually behind the exhaust manifold.
Some vehicles will even have multiple catalytic converters, in those instances it is important to note which bank catalytic converter needs to be replaced.
Step 3: Remove any oxygen sensors. If required, remove any oxygen sensors that may be mounted directly in or near the catalytic converter.
If no oxygen sensor is mounted in the catalytic converter, or need be removed, proceed to step 4.
Step 4: Spray penetrating oil. Spray penetrating oil on the exhaust flange hardware and flanges, and allow them a few minutes to soak.
Because of their location on the underside of the vehicle and exposure to the elements, exhaust nuts and bolts are especially prone to rust and seizing, so spraying them with penetrating oil will break free more easily, and help avoid problems with stripped nuts or bolts.
Step 5: Prepare your tools. Identify what size sockets or wrenches are required to remove the catalytic converter flange nuts or bolts.
Sometimes various extensions or flex joints, or a ratchet and socket on one side, and a wrench on the other side are required for removal.
Take care to make sure the tools are properly seated before attempting to torque the hardware loose. As noted earlier, exhaust hardware is especially prone to rust and therefore extra care must be taken not to round off or strip any hardware.
Remove the hardware and the catalytic converter should come free.
Step 6: Replace the catalytic converter. Replace the catalytic converter with a new one, and replace any exhaust flange gaskets to prevent exhaust leaks.
Also take care to double check that the replacement catalytic converter is up to the correct specifications for the vehicle’s emissions standards.
Emissions regulations vary from state to state, and a vehicle can be failed for having the incorrect catalytic converter installed.
Step 7: Install the catalytic converter. Install catalytic converter using the reverse of the removal procedure, steps 1-5.
Catalytic Converter Replacement Applications


